Smart Mirror

Upcycling project

24.06.2019

Smart Mirrora very special project

Building a Smart Mirror from new parts is the common practice. However, it gets really fascinating when we are dealing with a 150-year-old frame! We started our new project with the following items: a Raspberry Pi, a Vesa mount and an old 19-inch monitor. This should result in a smart mirror!

Cabinets

The conditioncould be improved

The basis of our smart mirror should be an antique. So we went on a search until we discovered this make-up mirror. We estimated that it dates back to 1850 and was unfortunately no longer beautiful to look at. The pictures show the condition of the surfaces quite well. The positive: hardly anything had broken out, and the mirror dimensions of 35 x 45 cm seemed ideal for the project. Processing the damage to the wood presented us with a great challenge. Since you can't just buy new antique furniture in the shop, you should be extremely careful here! That's why we asked furniture restorers via Instagram how we could best proceed. In this context: many thanks to Alexander Eschke from Halle and palm_upcycling from Bad Salzuflen.

Lots of renovation workThe realization

At first we disassembled the antique piece of jewelry and removed the mirror. We needed this to order the spy mirror (so that the writing on the monitor can shine through) in the correct size. Here we noticed that the entire mirror frame should best be re-glued. In any case, a frame had to be built for the monitor and small computer. Then this should be glued back into the mirror frame. So there was a lot of renovation work that still lay ahead of us. We ordered the wood for the technical box from Expresszuschnitt.de, cut to size. The idea of ​​doing this yourself was quickly discarded for reasons of cost. On the pictures you can see the first trial fitting "frame in frame". It could go on quickly: we cut the boards to the millimeter.

Milling machinethe usage

The monitor used has protruding controls that require a recess. We need a milling machine for this. We hadn't used such a technical gimmick before, and unfortunately had no real idea how to use it. After carefully reading the operating instructions and numerous YouTube videos on the subject of “milling machines”, we found the right tool here in Kiel (Bauhaus). So we could start with a trial milling! We use the BOSCH POF 1400 ACE. From our own experience we can say: “ideally suited for beginners”, everything else is up to the experts. Now it was time to mill the right groove. Our first test milling was successful, and the rest was really very easy.

The resulteverything fits perfectly

It's the second milling we've ever done. Fits perfectly! Little test, did we do everything right? We received the spy glass for the mirror here in Kiel from the "Glaserei Pries". Thanks again for that!

Smart MirrorTest run

Now we wanted to test whether the technology actually delivers what we had in mind. Here we can see that the adjustments made with the original MagicMirror2 image are taking effect. We have adjusted the calendar, location, and greetings. In addition, what you unfortunately cannot see here is shown below, the RSS stream from Spiegel Online. We could really use no another news source for this project!

The frame constructionour work can begin

All right: our mirror is online - let's go to the final frame construction. We really wanted to use natural materials. On the one hand, because it is better for the environment and health, on the other hand, because we only wanted to renew as much as was necessary. That is why we opted for isinglass from Hermann Sachse in 1901 in Berlin. Now we left the technology in the frame. We needed the black tape to prevent the light frame of the monitor from showing through. So everything that wasn't just a display had to be masked off in black.

Wood restorationis a special chapter

As already described, a lot had to be done on the carrier with the drawers. Tip 1 was: treat the surface with alcohol. That worked quite well, but unfortunately only afterwards did you really see the damage.

Grinding workwith precision

Tip 2: sand with the finest paper possible. We quickly realized that alcohol alone was not enough. The veneer was quite delicate and not particularly thick. Therefore, we used here 800 and 1000 grit sandpaper.

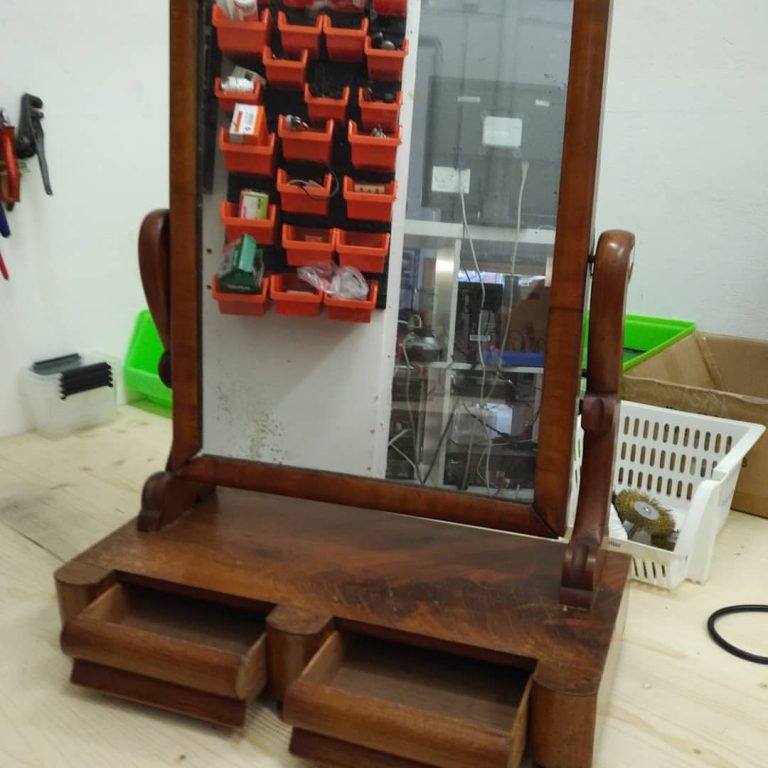
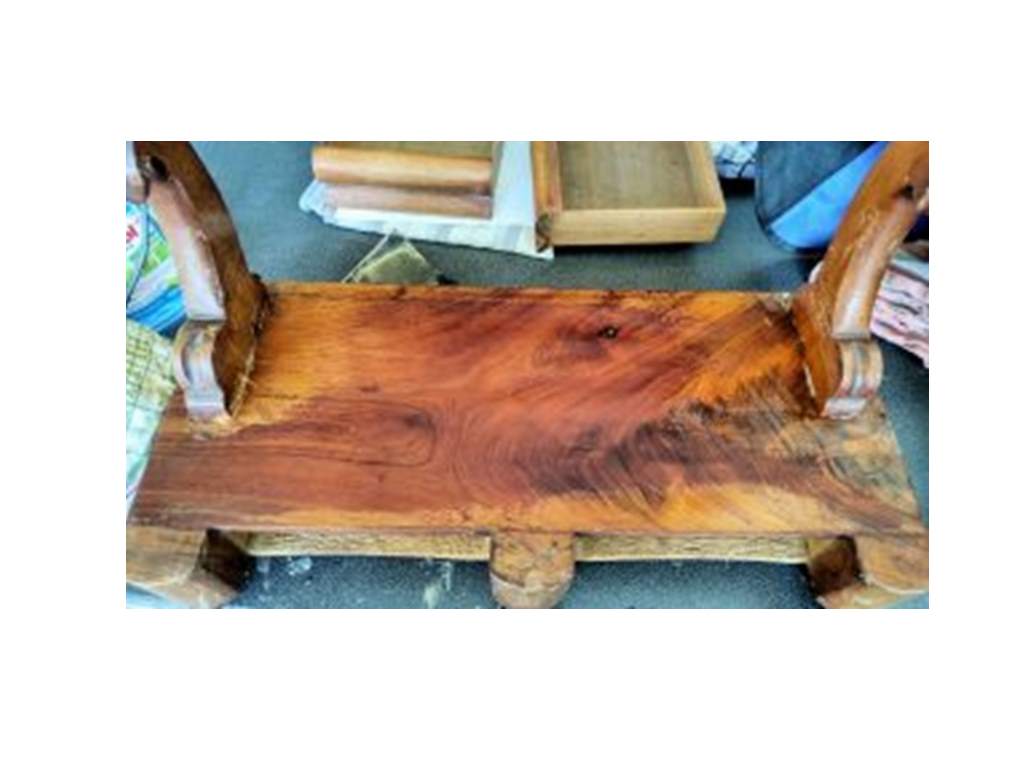
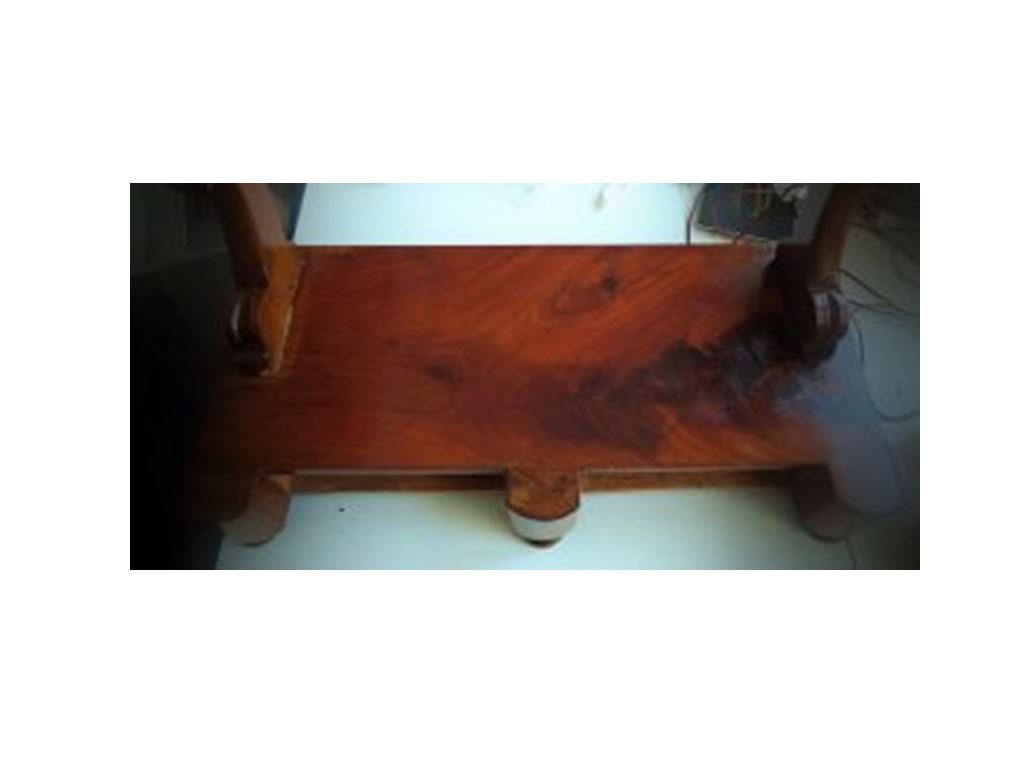
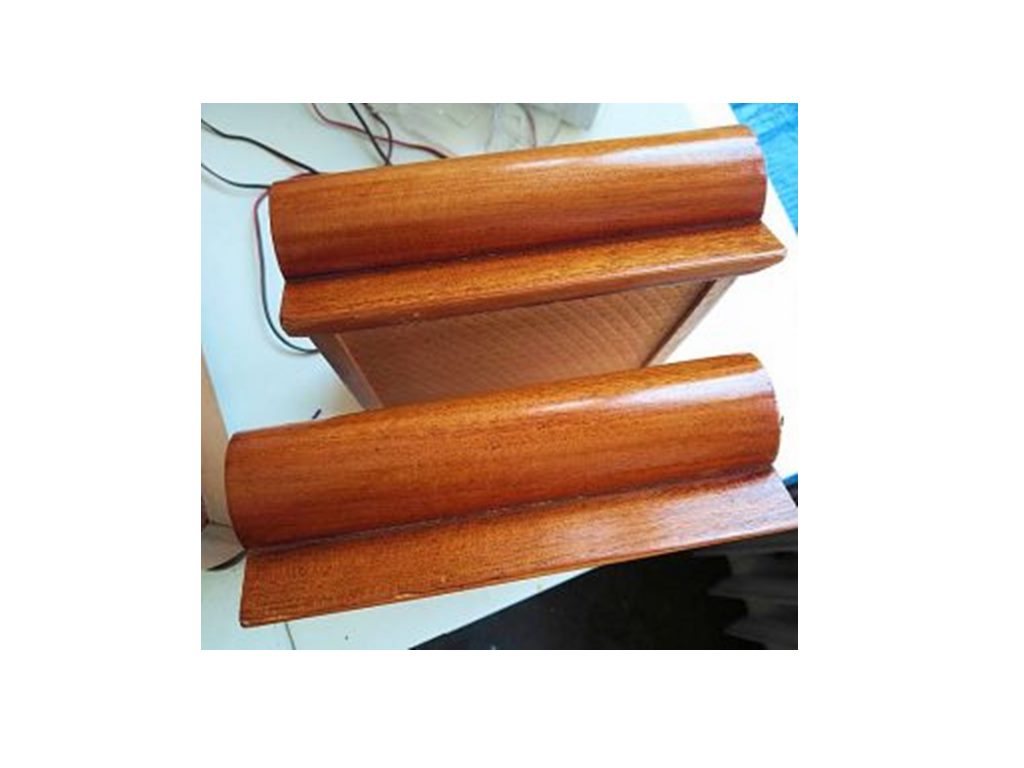
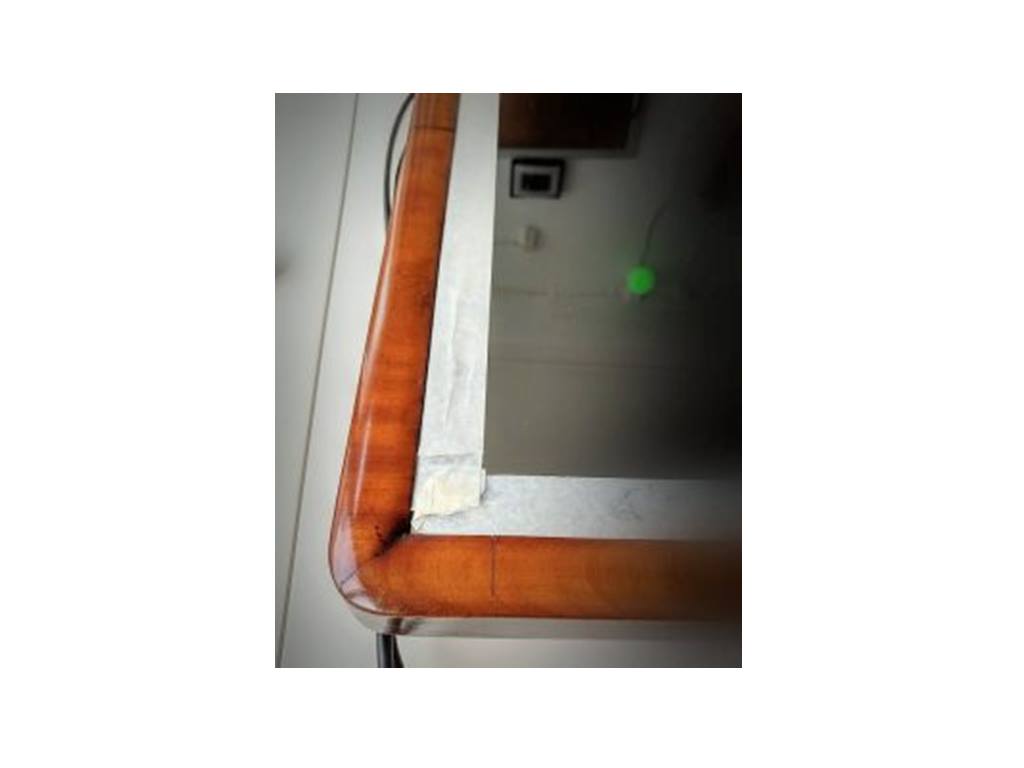
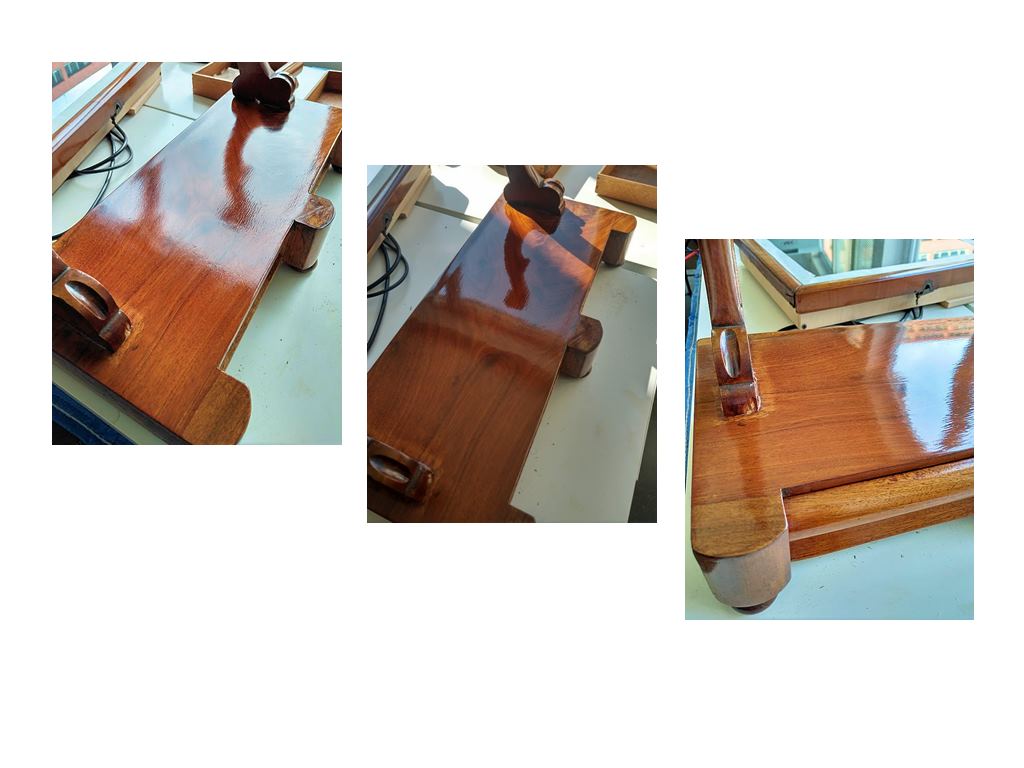
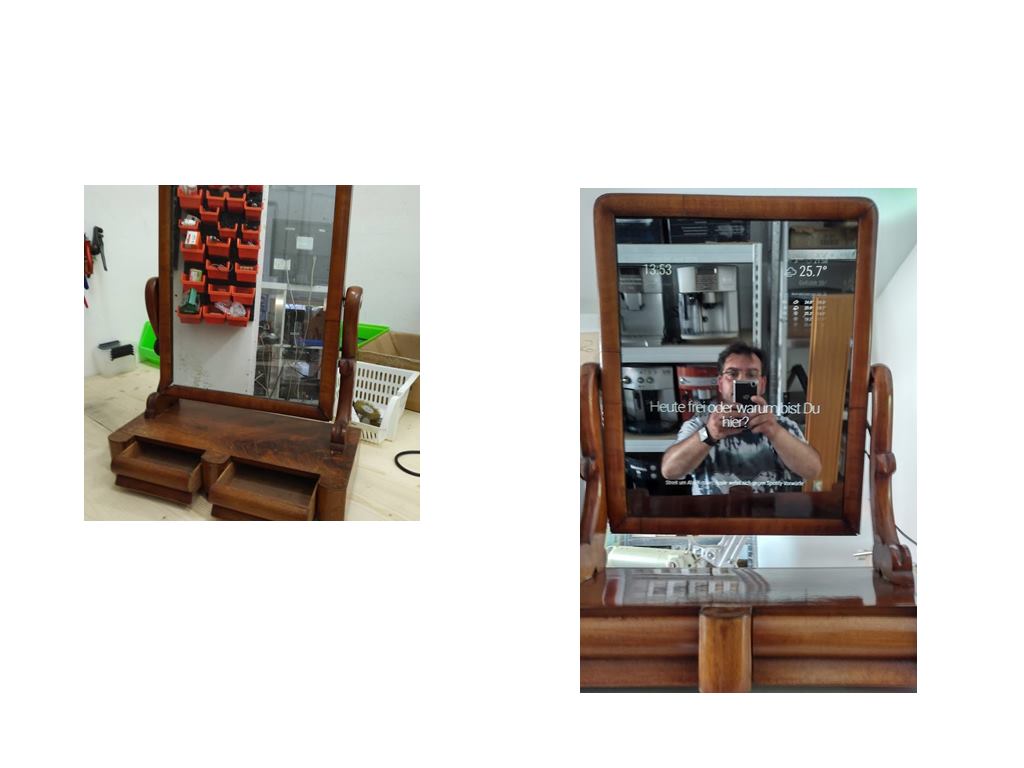
Shellac polishone of the final work

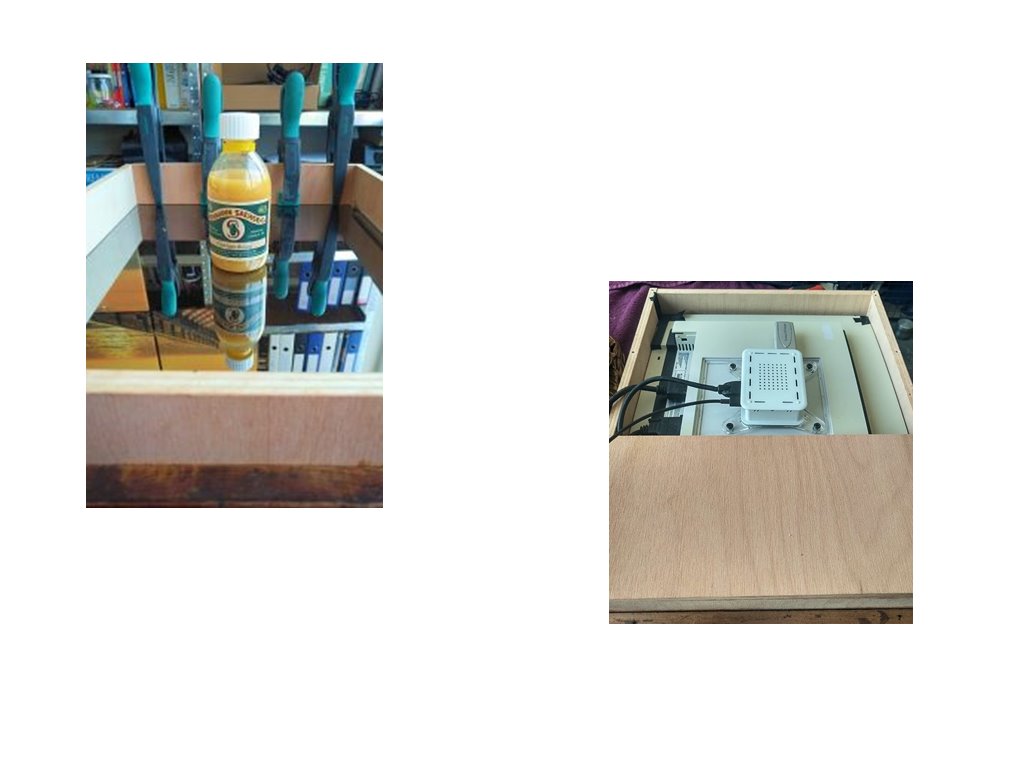
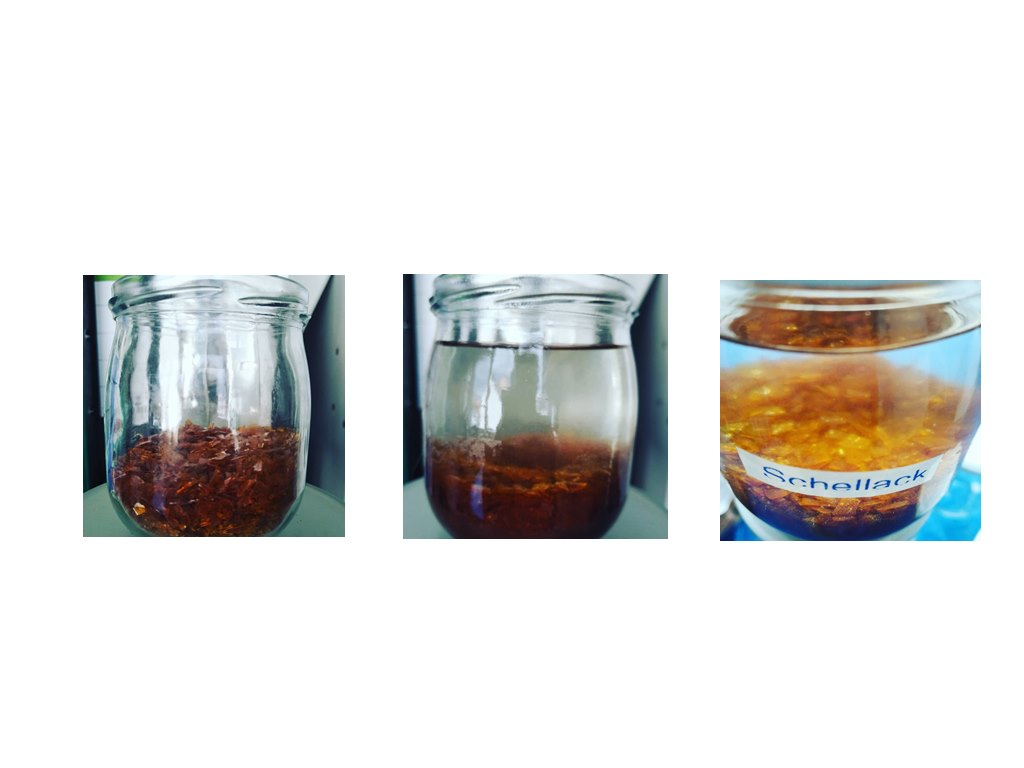
For a good shellac polish you need polishing balls made of sheep's wool, cotton, and linen. In addition, of course, self-applied polish and strong nerves. It is very important to use a pad for pre-polishing and one for finishing. In the case of unsealed wood, pumice flour can/ should be used. This time we did without the pumice powder. The shellac flakes are dissolved in ethanol. Unfortunately, that didn't work as smoothly as we had hoped. We had to stir frequently. At some point, we will come up with a method so that this work can be carried out with less effort.

Step 1to the finish

This is where we applied the first layer.

Step 2to the finish

The drawers, also provided with the first layer.

Step 3to the finish

The mirror frame after the first treatment. The drawers and the frame are a little more grateful when it comes to handling the polish. The larger the area, the more difficult it is to get a clean result. If you are too impatient, you tear open the last layer. In any case, you have to wait at least 24 hours between the individual shifts. It is ideal: apply 1 coat on Friday, the next one on Monday.

The resultis excellent 

Here you can see the result after the third and fifth shift!

Covering the back wallwith fabric

We used this beautiful fabric as a disguise.

Fully assembled Smart Mirrorin our workshop

We are excited. Our efforts have paid off!